thinking outside the box(wood)
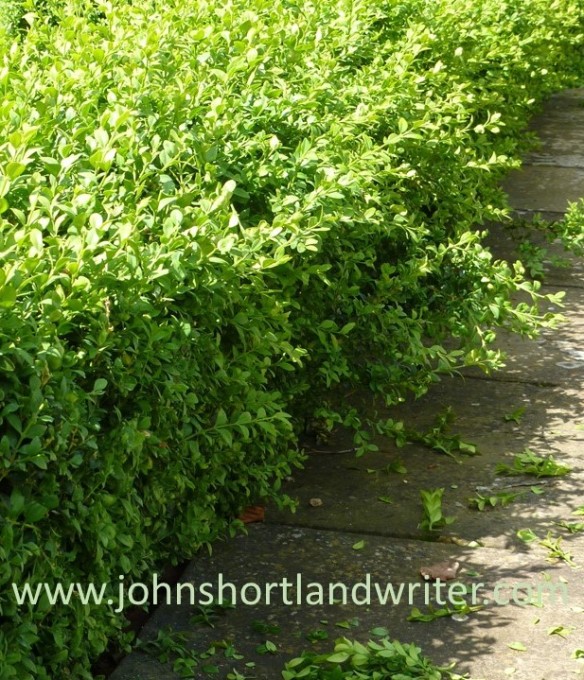
Over the years I must have hand clipped many miles of box (in the USA, boxwood) hedging and once the knack is mastered it can be quite therapeutic. The main rule to follow is to remember that it has to be precise for there is nothing worse than a straight, level hedge that is clipped unevenly. It irritates the eye as much as a picture hanging crookedly on a wall.

Patience and plenty of time are key factors in ensuring straight lines
I can’t say that I feel quite the same about topiary. I can admire the craftsmanship that goes into producing weird and wonderful shapes but it is so easy, in a lapse of concentration to, say, cut the ear off a teddy bear or the beak off a peacock. As a consequence, I find it rather stressful. Cloud topiary is far more forgiving but, again, it doesn’t really “do it for me.”

You need even more patience to clip topiary
Perhaps the most rewarding design I have created was turning four rather scruffy and unbalanced squares of box into simple but elegant cubes. Yes, it was topiary but to misquote Star Trek “it’s topiary Jim, but…” To begin with, I was faced by the four squares each with a rather ugly and thorny shrub rose growing out of their centres. A consequence of this design was that the box couldn’t be clipped properly and neither could the rose be properly pruned.

The original design with roses always looked scruffy
To create the design the roses had first to be removed leaving a gaping hole in the centre of each square. Fortunately, I had some reasonably tall box plants elsewhere in the garden that I could dig up and replant. I soon discovered that it was impossible to plant them properly without damaging the existing plants. My gamble of just standing them on the earth and then throwing topsoil over them to trickle through the branches paid off. The soil covered the roots and probably much of the lower branches too*. Given a good watering, the plants thrived. Before trimming all the outer edges needed to be marked with string lines for accuracy in cutting.
Without strings for guidance clipping the box into perfect cubes would be almost impossible
I thought about all sorts of fancy designs for the tops of the cubes and, as is so often the case with design, I decided that simplicity was the key to a satisfactory outcome. Two cubes would have a raised circle and two a raised square. It was essential that these weren’t too high – I didn’t want them to look like a combination of wedding cakes and pimples! I found that it was impossible to mark these designs out and so they were created without guidelines, relying on my eye to tell me where and what to clip. By their second year of clipping they looked as if they had been there for ever.

The design will look just as good in winter when highlighted by frost or snow
Box is such a versatile plant to use and it is well worth experimenting with them. Below are three photos of how I have used them: the first is the classic edging to a border; the second to bring focus to a set of garden steps; the third a mini-parterre to link two levels in a garden. Your garden doesn’t need to be huge or grand to use box in these ways – the parterre was suitably small scale for a tiny town garden. Have a go at creating your own box design – and if creating a topiary peacock is your thing, that’s fine with me – just don’t aske me to clip it!

The classic use for box – fronting a border

Giving focus to garden steps

Mini-parterre for a tiny garden
*This is also a good and easy way to create plenty of new plants for the buried stems will often send out roots. When they do they can be severed from the parent plant to be grown on elsewhere.


Comments
Post a Comment